


APPLE NOTES 109
24 June 2015
Don’t just walk around your Mac and tap the aluminium hood, here’s a few tips to
keep your rig trucking along.
Column: Anthony Garvin
It’s been a while since we got into the nuts and bolts of maintaining and running a Mac-based DAW system. So for the next few issues (provided Apple doesn’t drop a bomb on the news desk), I’m going to roll through some tips and tricks for keeping your studio Mac humming and your workflow efficient. Today we’ll start from the ground up; a walkthrough of some of the utilities and tools included with Mac OS, which are indispensable for maintenance and good workflow.
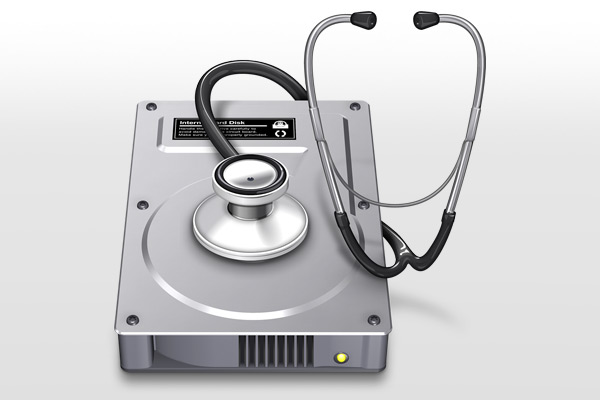
DISK UTILITY
For many, a ‘Repair Disk Permissions’ operation is the most common use for Disk Utility, and it’s an operation that’s frequently recommended by support teams the world over as the first step in troubleshooting software issues. Beyond this, Disk Utility is the tool to both erase/create partitions and ‘Repair’ a chosen partition’s file system structure (though it can’t be done on the boot drive, so more on this later).
Outside of these common uses, my favourite feature of Disk Utility is its ability to resize partitions, meaning you can add another partition on any disk, without having to erase the data already contained on it. This is very handy, for example, when trying out a new OS. To do this:
in Disk Utility, select the disk of interest in the left hand column (not the partition, but the disk above it).
Head to the ‘Partition’ tab on the right hand side.
Resize the partition by dragging the bottom right corner of the partition graphic upwards.
You can now use the + button to add one, or more, partitions.
THE RECOVERY PARTITION
By booting your Mac whilst holding down Command+R, you’ll boot into Recovery mode. Apart from using Recovery Mode to install a new OS, it can also be helpful in other ways:
It’s not possible to ‘Repair’ (not to be confused with ‘Repair Disk Permissions’) the partition that your OS resides on whilst it’s booted. But you can in Recovery Mode. So if you’re having trouble with your boot drive and want to attempt a ‘Repair’, here’s the place to do it.
It’s also not reliable to resize the OS partition whilst it’s booted. Again, doable in Recovery Mode… well, almost always in my experience.
TARGET DISK MODE
Almost as old as the Mac itself (you could target-disk some Macs with SCSI interfaces), this is no doubt a trick that has saved many of us in the past. By holding down T as the Mac boots, it effectively transforms into a hard disk drive that you can connect to any other Mac, or PC if necessary (with some additional software installed). Nowadays Target Disk Mode can operate over Firewire or Thunderbolt, or between the two with Apple’s Thunderbolt-to-Firewire adapter. If you’re desperately trying to recover a file on a corrupted boot drive, or struggling to add another partition to the disk containing the boot partition, then Target Disk Mode is your best bet.
Now that we have our drives in good shape, let’s move on.
AUDIO/MIDI SETUP
Audio/MIDI Setup (Command+Shift+U in the Finder will bring up the Utilities folder, where AMS resides) serves two purposes for me:
Troubleshooting audio devices. In the Audio window of AMS, you can check output volume levels, sample rates and even sync sources for Digital I/O. If your system is giving you grief in any of these departments, it’s often the quickest way to find out what’s going on.
Improving connectivity between MIDI hardware and software. In the MIDI window, by using the ‘Add Device’ button, you can name a virtual device that represents each MIDI hardware device. Once you virtually patch them into your MIDI Interface device, software like Pro Tools and Logic will then ‘see’ the hardware, rather than a non-descript port name. A must if you have more than one MIDI device connected to your DAW. Unfortunately Ableton Live does not currently support this feature.
Quick Tip: If you Option click the volume in your menu bar, you can toggle input/output devices without opening system preferences.
QUICKTIME
Speaking of Ableton Live, another wish-list item for me is exporting MP3 or M4a files for emailing reference mixes. Without being able to do this in Live itself, or going through the motions of loading it into your iTunes library, the simplest way to do this is via QuickTime:
From the Finder, right click your WAV or AIFF file and choose Open With QuickTime
In QuickTime, head to File Export Audio Only…
Your audio will now be exported as a 256kbps .m4a file.
Quick Tip: In QuickTime, if you need to find out more info about an audio file, hit Command+I to ‘Get Info’ on a file — like the same command in Finder, but with more audio-centric info.
TEXT EDIT
Why mention Text Edit in a column like this? These two chestnuts: Serial Numbers and User Logins. It’s just not possible to make meaningful sound on a computer without having numerous logins to access and authorise your software. Storing these in Text Edit, and syncing them to iCloud, means they’re all in one place, backed up and available on any computer where you’re logged into iCloud — all in a file format that is, and will be, readable by just about anything for years to come. Don’t overlook Text Edit’s tables and tab features to help keep that list super-tidy (or perhaps that’s my OCD kicking back in).
That covers some of Mac OS’s core tools. Next time, we’ll continue along this path and take a look at some third party software that helps your Mac DAW run like it should.


RESPONSES